Table of Contents
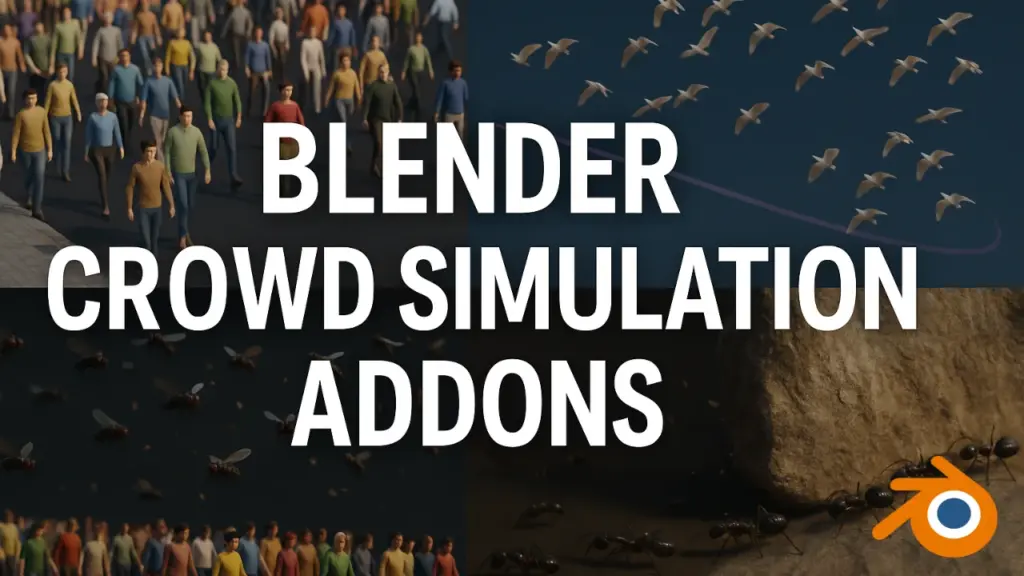
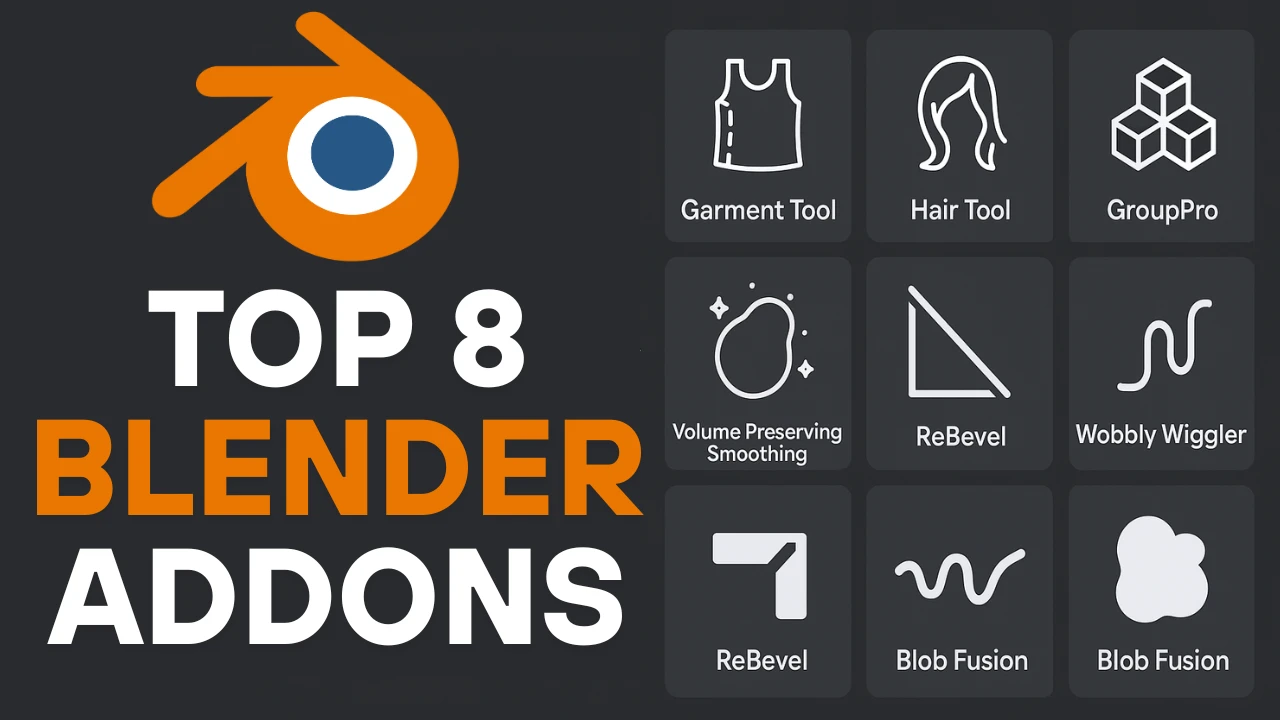
Blender is home to a powerful and ever-growing library of add-ons that can dramatically improve your 3D workflow. Today we’re going to take a closer look at addons for Blender by a very talented developer. Somehow these add-ons went under my radar, and generally, they cover a wide range of functions—from Blender garment simulation, hair styling, weight painting, modeling, and more.
Honestly, these are pretty good, and I’m sure you will find some of these really useful. So let’s dive into each one of them and see what they will bring to the table.
Garment Tool: Blender Garment Simulation Made Easy
Let’s start with Garment Tool, which works with simulated cloth in Blender by letting you start with simple two-sewing patterns that are stitched together into a mesh. You can adjust things like fabric drape, tension, and collision parameters so that the cloth behaves in a natural way.
The add-on even shows you mismatched sewn segment lengths with a chain icon, which makes it easier to see where the sewing might need adjusting. There are options for splitting, joining, and even cutting holes in patterns along with automated vertex group generation. This means you can experiment with different fabric effects and see how the cloth interacts with your model.
And if you’re looking to dress up a character or add moving cloth elements to your scene, this tool gives you a hands-on way to tinker with cloth simulation and achieve amazing results. For those diving into Blender garment simulation, Garment Tool offers a direct, intuitive solution.
Hair Tool: Blender Hair Styling Without the Hassle
Now let’s talk about hair with this add-on called Hair Tool, which makes creating hair less of a hassle by bypassing Blender’s complex particle system. So it lets you generate hair strands in two ways—procedurally or by drawing them manually—giving you a choice in how you can build your hairstyle.
So basically, you can adjust parameters such as strand length, density, curl, and clumping so that the hair doesn’t come out looking too uniform. The add-on takes care of the UV assignments automatically and even offers baking options for textures, which makes switching between guide curves and actual hair cards much smoother.
I would like to add to this that there are several presets available to give you a good starting point, yet you still have the option to manually tweak things like symmetry and vertex color sampling. I think the mix between automated setups and hands-on control is absolutely amazing because it lets you experiment with different hairstyles. You can add hair-like detail to your various objects inside your scene and achieve something spectacular.
Hair Tool stands out as one of the best Blender hair styling add-ons, especially for those looking for creative freedom without complex setup.
Group Pro: Clean and Organized Scenes in Blender
The next add-on, called Group Pro, doesn’t seem like it is as important as the previous two add-ons, but trust me—it is. Basically, it helps you manage and organize your scenes when projects start getting crowded with objects.
Think of it like organizing files into folders on your computer. You can group objects quickly and even nest groups within groups for a more layered approach. It supports features like batching and hierarchical sorting so you can easily locate your objects—I mean, the objects that you need—inside a busy scene.
You can also apply modifiers such as bevels or subdivisions to entire groups all at once. And you can change materials across all items in a group with just one action. This means you’re not spending time manually adjusting each object, which keeps your workflow smooth and your workspace tidy.
From what I can see, the add-on is designed to reduce clutter and help you maintain control over complex scenes, letting you focus more on the creative aspects of your work. It offers a relaxed way to keep track of your elements, which I think will help you more to get what you want from this tool.
Weight Paint Tools: Streamlining Blender Weight Painting
Another important aspect in the workflow is weight painting. That’s why we’re going to talk about this add-on called Weight Paint Tools. This one is going to help you simplify the process of assigning weights to your models, which is key for smooth deformations in animation.
As you can see, the add-on adds extra brushes, grading options, and symmetry controls that can help you distribute weights evenly across your mesh. The trick is—it automatically normalizes the weight values, so you don’t need to manually adjust them repeatedly, which saves you time and the hassle of doing this yourself.
The tool also offers quick loop selections and fill options for vertex groups, reducing the back and forth that typically comes with weight painting. So I think whether you are setting up a character rig or fine-tuning deformations for more natural movement, these extra controls make the process more intuitive.
You can assign strong weights to key areas and blend transitions between joints, ensuring that your model deforms smoothly—especially when animated. For those working in Blender weight painting, this tool provides the right blend of simplicity and power.
Volume Preserving Smoothing: Maintain Shape While Refining Meshes
Now with something different, we have another add-on called Volume Preserving Smoothing, which from what I can see is going to help you clean up your models while at the same time retaining their original shape.
Also Read:
Top Free Blender Texture Addons for Texturing Workflows
Best Blender UV Addons for Seamless Unwrapping Workflows
Discover the Best Addons for Blender: Node Modifiers & Tools
This is particularly useful for organic or sculpted models where the natural form is important to keep intact. In addition, the adjustable settings let you experiment with different levels of smoothness so that you can achieve a polished look without sacrificing character.
This particular approach ensures that your model remains true to your original design—which is the point in the first place—but with removed imperfections and refined results. This is a must-have for artists dealing with character sculpting in Blender.
ReBevel: Quick, Customizable Bevels in Blender
Still with modeling, we have another add-on: ReBevel for Blender, which simplifies adding bevels to your models by providing adjustable settings for edge width, segment count, and profile shape.
And as you tweak parameters, you can immediately see the impact on your model structure. I mean, this can help you achieve the desired depth, also the desired refinement, and the general purpose is to smooth sharp corners or add sense of definition to the edges.
The add-on offers tools to make those precise adjustments efficiently—and it can do that also effectively. If you’re working in Blender modeling, ReBevel gives you fast, intuitive tools to elevate your mesh with accurate beveling.
Wobbly Wiggler: Dynamic Motion Without Complex Animation
Now we’re going to jump to an animation add-on called Wobbly Wiggler, which adds a playful element to your projects by introducing subtle and controlled jiggles to your models.
This add-on lets you adjust settings for the speed, intensity, and frequency of the motion, which means you can experiment with different types of movement—from general sways to more pronounced wobbles.
And this add-on is fit for adding a bit of extra motion to elements like character hair or decorative objects without needing a full animation setup. As you can see, its range of motion parameters gives you the freedom to create effects that suit the mood of the scene.
For me personally, I think it makes things a whole lot more realistic because it saves the time of trying to simulate these effects manually—which often doesn’t look natural or takes too much time to do that.
Wobbly Wiggler stands out as one of the best animation utility add-ons in Blender for quick, expressive secondary motion.
Blob Fusion: Merge Objects Into Organic Forms with Ease
Also, if you want to save time in modeling and sculpting, this add-on called Blob Fusion is going to help you do that simply because it offers a creative way to merge separate objects into one smooth and cohesive form.
With adjustable parameters for fusion strength and transition smoothness, you can control how seamlessly different elements blend together—as you can see in this character. This is particularly useful for creating organic and abstract designs where hard edges might disrupt the overall flow of the piece.
And the add-on provides a method to experiment with merging objects, allowing you to fine-tune the integration until the result feels natural and unified.
So whether you are softening the boundaries between distinct shapes or combining elements into a single sculpture, this add-on, I think, gives you the best tools to explore a fluid and smooth look. And most importantly, I think it is fun to use and it gives you the feeling that you are making progress when working on a character or something organic without lots of tedious work.
FAQs about Top 8 Addons for Blender
What are the best addons for Blender?
The best addons for Blender include Garment Tool, Hair Tool, GroupPro, Weight Paint Tools, Volume Preserving Smoothing, ReBevel, Wobbly Wiggler, and Blob Fusion. These addons cover modeling, animation, hair styling, and workflow improvements.
How does the Garment Tool addon help in Blender?
Garment Tool simplifies garment simulation by allowing you to create sewing patterns stitched into meshes, adjust fabric properties, and simulate realistic cloth behavior easily.
Can I use Hair Tool for Blender to create hair without particles?
Yes, Hair Tool bypasses Blender’s particle system and lets you generate hair strands procedurally or by manual drawing, simplifying hair creation and offering UV and texture baking support.
What is GroupPro and why is it useful?
GroupPro helps organize objects in Blender scenes by grouping and nesting them, applying modifiers and materials to entire groups, which streamlines scene management and workflow.
How does Weight Paint Tools improve weight painting?
Weight Paint Tools add extra brushes, grading options, and symmetry controls, automating weight normalization for smooth, efficient weight painting and better animation deformation.
What makes Volume Preserving Smoothing different from regular smoothing?
Volume Preserving Smoothing retains the original model volume while smoothing edges, preventing loss of important details and preserving the model’s shape.
How can ReBevel for Blender enhance my models?
ReBevel allows precise control over bevels’ width, segments, and profile shapes, improving edge detail on both hard surface and curved models efficiently.
What does the Wobbly Wiggler addon do?
Wobbly Wiggler adds subtle jiggle animations to objects, making elements like hair or decorations move naturally without a complex animation setup.
How does Blob Fusion help in modeling?
Blob Fusion merges multiple objects into a smooth, cohesive form with adjustable fusion strength and transition smoothness, ideal for organic or abstract shapes.
Where can I find these addons for Blender?
These addons are available through various platforms like Gumroad, with direct purchase links often provided by the developers or community sites.